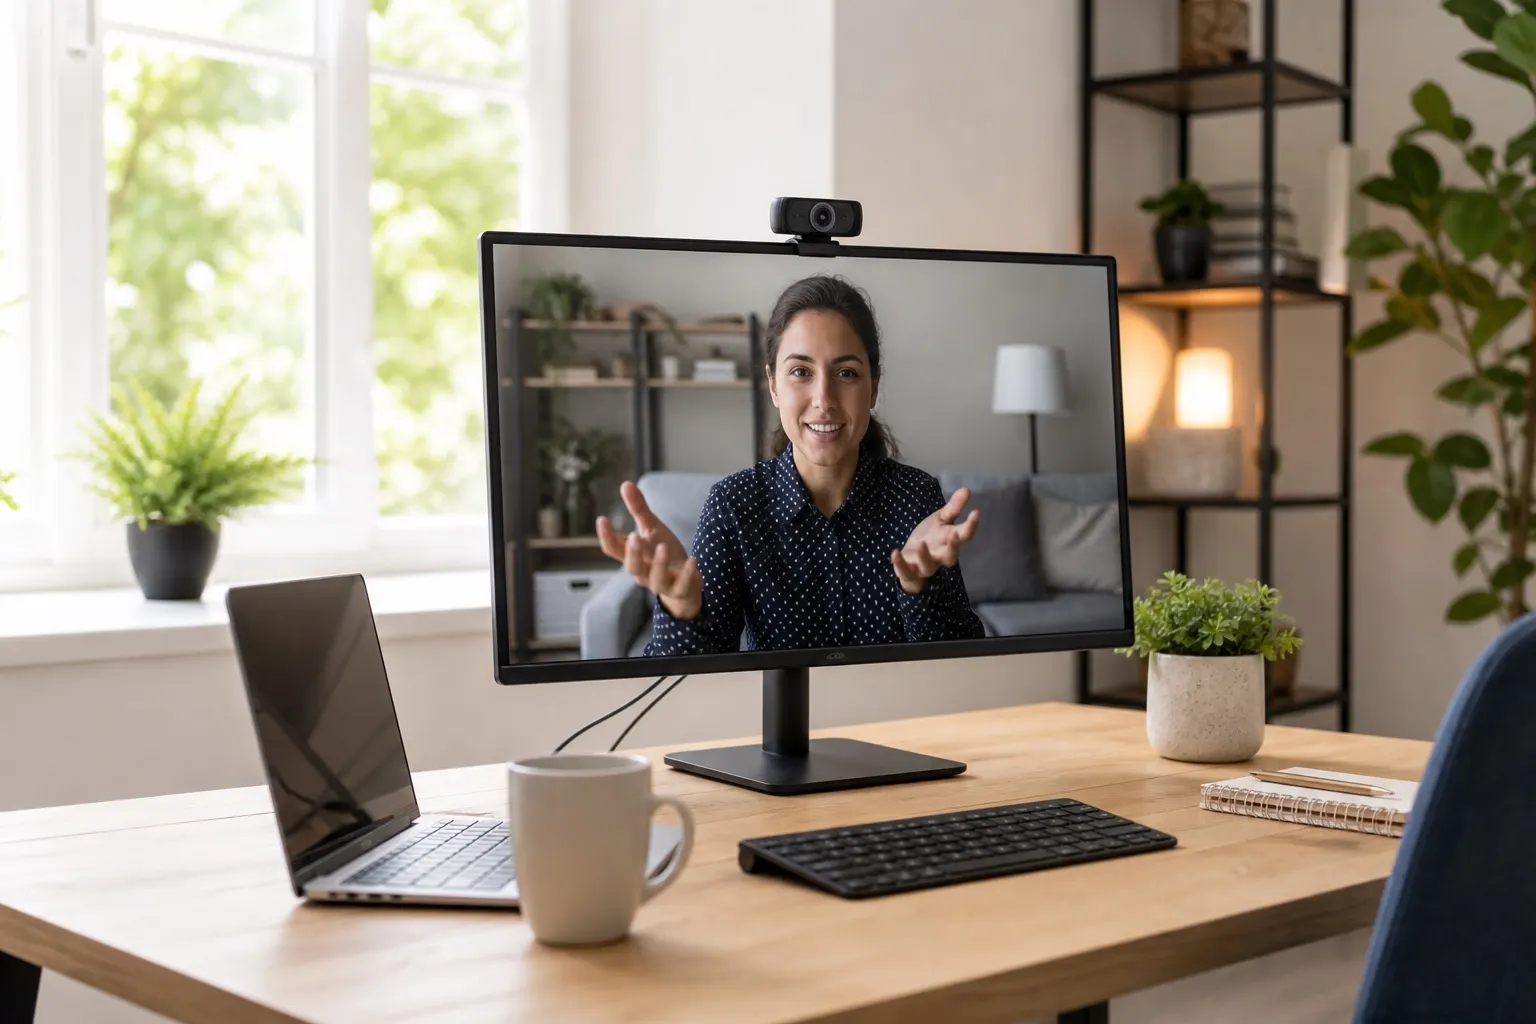
If you are choosing a digital nomad monitor, start with the places where you actually work: hotel desks, cafe tables, coworking booths, airport lounges, and short-term rentals with awkward outlets. The best portable screen is not the biggest one. It is the one you will pack, power, position, and use without turning every work session into a cable puzzle.
For most remote workers, the sweet spot is a lightweight 14- to 16-inch USB-C portable monitor with a stable stand, matte screen, enough brightness for shared spaces, and a cable setup that works from one side of your laptop. Use this guide as a practical shortlist framework before you buy.
Quick Answer
The best digital nomad monitor setup in 2026 is usually a 15.6-inch 1080p USB-C portable monitor, a rigid kickstand or magnetic stand, one short USB-C cable, and a soft sleeve that fits inside your laptop compartment. Choose 14 inches if you are a one-bag traveler, choose 16 inches if you mostly work from hotels and coworking spaces, and only choose 4K or OLED if your work genuinely depends on extra sharpness or color accuracy.
If you are still choosing between a travel screen and a home-office display, use the best portable monitors for remote workers guide for model categories and the best monitor for remote work guide for desk-based options.
What To Look For First
The first filter is fit. A good portable monitor travel setup should match your travel routine, not an imaginary desk you rarely have. Check the setup steps, return policy, included cables, stand design, and whether the monitor still works when the table is small, the outlet is far away, or the Wi-Fi call starts in three minutes.
For a digital nomad monitor, prioritize:
- Single-cable USB-C video and power when your laptop supports it.
- Weight under about two pounds if it will live in your carry-on.
- A real stand, not a floppy case that collapses on narrow tables.
- Matte or anti-glare coating for cafes, windows, and coworking spaces.
- Brightness you can tolerate outside your home office, not just in product photos.
- A side port layout that works with your laptop stand and desk position.
If you edit video, design, or photos, color accuracy may matter more than weight. If you mostly write, manage spreadsheets, review docs, or keep Slack beside your main work, portability and setup speed usually matter more than premium panel specs.
Best Digital Nomad Monitor Sizes
| Travel pattern | Best size | Why it works |
|---|---|---|
| One-bag travel, cafe work, frequent flights | 14-inch portable monitor | Easier to pack, less table space, lighter carry weight |
| Most digital nomads | 15.6-inch portable monitor | The best balance of screen room, price, and availability |
| Hotel and coworking-heavy travel | 16-inch portable monitor | More comfortable for long work blocks when you have a real table |
| Creative work on the road | 15- to 16-inch OLED or 4K portable monitor | Better color or sharpness, but usually higher cost and power draw |
Avoid buying a travel monitor only because it is technically larger. A 17-inch portable display can be useful for long hotel stays, but it often feels awkward on cafe tables, airline trays, and narrow coworking booths.
The Digital Nomad Portable Monitor Checklist
Use this checklist before choosing:
- Define the main second-screen job in one sentence.
- Set a budget ceiling before reading reviews.
- Confirm USB-C, HDMI, or adapter compatibility with your actual laptop.
- Check whether the monitor can run from laptop power or needs its own charger.
- Measure your bag sleeve and the smallest desk you commonly use.
- Decide whether portrait mode matters for coding, documents, or chat.
- Read recent negative reviews, not only the average rating.
- Avoid bundles unless you need every cable, sleeve, or magnetic cover in the kit.
For shopping research, compare current options on Amazon, then cross-check one independent source before buying. If you often work on public networks while traveling, pair the screen decision with a secure connection routine; the FTC's public Wi-Fi guidance is a good baseline.
Common Tradeoffs
The lowest price can be right when you need a basic second screen for email, calendars, dashboards, and reference docs. It is usually wrong when the stand is weak, the brightness is poor, or the monitor needs a fragile adapter chain to work with your laptop.
The premium option can be worth it when it reduces friction: better color, a sturdier stand, a brighter panel, a built-in battery, or a cleaner one-cable setup. But do not pay more for 4K or OLED unless your work actually benefits from it. For writing, calls, spreadsheets, and project management, a dependable 1080p panel is often enough.
The hidden cost is attention. Anything that needs frequent charging, careful cable routing, calibration, or special desk space should earn its spot. If two choices look similar, pick the one with fewer ongoing demands.
Setup Tips That Prevent Regret
Before you commit, create a small test. Put the item where it will actually live, run the software on a real task, or simulate the weekly routine. A ten-minute test often reveals more than an hour of review reading.
Document the basics while you set it up: model number, login email, warranty date, replacement part size, or renewal price. Future-you will not remember the details when something needs fixing.
For related planning, see the hotel room office setup guide and the remote work cable kit checklist.
Recommended Buying Path
Start with the middle tier. It is usually where the useful features live without the fragile extras: decent brightness, USB-C support, a stable cover or kickstand, and a sleeve that survives travel. Move up only when you can name the specific feature you need. Move down when the expensive version mainly adds branding, packaging, or features you will never use.
When browsing marketplaces, compare at least three options for digital nomad portable monitor setup: a budget pick, a mainstream pick, and a premium pick. Save the links, wait a day if the purchase is not urgent, and choose the one that still makes sense after the initial excitement fades.
FAQ
What is the biggest mistake people make with portable monitor travel setup?
Buying for features instead of use. A smaller, simpler digital nomad monitor that you use every week beats an impressive one that stays in the bag because it is too heavy, dim, or annoying to set up.
Is a 15.6-inch portable monitor too big for travel?
Not usually, but it depends on your bag and desk style. A 15.6-inch portable monitor is a strong all-around choice for hotel desks and coworking spaces. Frequent cafe workers or one-bag travelers may prefer a smaller 14-inch screen.
When should I pay more?
Pay more when reliability, brightness, stand quality, color accuracy, or daily setup speed are clearly better. Do not pay more just because the listing has more accessories.
How often should I revisit this choice?
Review it after the first month, then every six to twelve months. If it is not saving time, reducing stress, or improving the routine, simplify the setup.